Speaker Recognition (or Speaker Identification) analyzes distinctive voice characteristics to identify and verify speakers. It is the technology behind voice authentication, speaker-based personalization, and speaker spotting. However, many applications of Speaker Recognition suffer from the high latency of cloud-based services, leading to poor user experience. That is where Picovoice's Eagle Speaker Recognition SDK comes in, offering on-device Speaker Recognition without sacrificing accuracy. What's more, Eagle Speaker Recognition makes it so easy, you can add Speaker Recognition to your app in just a few lines of Python.
Speaker Recognition typically requires two steps. The first step is speaker Enrollment, where a speaker's voice is registered using a short clip of audio to produce a Speaker Profile. The second step is Recognition, where the Speaker Profile is used to detect when that speaker is speaking given an audio stream.
Let's see how to use the Eagle Speaker Recognition Python SDK / API to implement a speaker recognition app!
Setup
Install pveagle using pip. We will be using pvrecorder to get cross-platform audio, so install that as well:
Lastly, you will need a Picovoice AccessKey, which can be obtained with a free Picovoice Console account.
Enroll a speaker
Import pveagle and create an instance of the EagleProfiler class:
Now, import pvrecorder and create an instance of the recorder as well. Use the EagleProfiler's .min_enroll_samples as the frame_length:
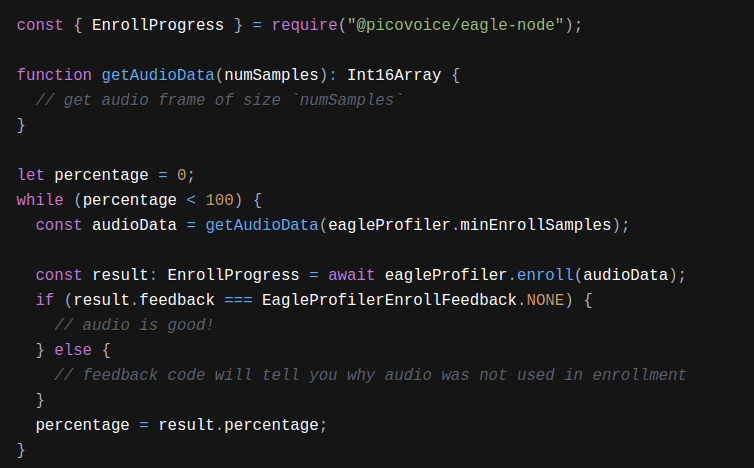
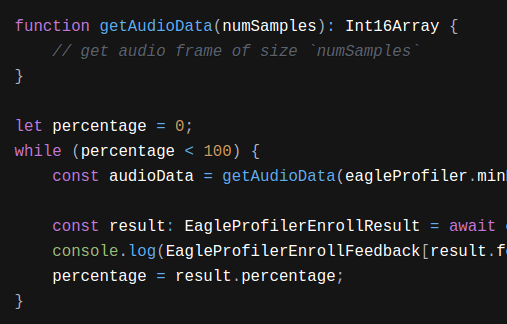
Now it's time to enroll a speaker. The .enroll() function takes in frames of audio and provides feedback on the audio quality and Enrollment percentage. Use the percentage value to know when Enrollment is done and another speaker can be enrolled:
Once Enrollment reaches 100%, export the speaker profile to use in the next step, Speaker Recognition:
The speaker_profile object can be saved and reused; see the docs for more details.
Profiles can be made for additional users by calling the .reset() function on the EagleProfiler, and repeating the .enroll() step.
Once profiles have been created for all speakers, don't forget to clean up used resources:
Perform recognition
Import pveagle and create an instance of the Eagle class, using the speaker profiles created by the Enrollment step:
Now set up pvrecorder to use with Eagle:
Pass audio frames into the eagle.process() function get back speaker scores:
When finished, don't forget to clean up used resources:
Putting It All Together
Here is an example program bringing together everything that has been shown so far:
It just takes 2 minutes to get it up and running:
Next Steps
See the GitHub Python Demo for a more complete example, including how to handle Enrollment feedback, save Speaker Profiles to disk and use files as the audio input. You can also view the Python API docs for details on the package.
Don't forget to check out other Python Tutorials such as LLM-powered Voice Assistant in Python, Real-time Noise Suppression with Python, and Speaker Diarization with Python.


