TL;DR: Lumina, powered by OpenAI DALL-E 3 and Picovoice’s wake word, voice activity detection, speech-to-text, and Python audio recorder, is an AI Art Generator prompted with voice commands. In other words, Lumina turns voice prompts such as "Lumina, a female artist with freckles and stained-glass windows in the background," into images, like this:

Lumina: Creating images from Voice Commands
Lumina is a voice-prompted art generator developed by David Bleisch (aka DevMiser). It uses:
- Porcupine Wake Word to detect a wake word
- Cobra Voice Activity Detection to determine when the user begins and finishes speaking their query
- Leopard Speech-to-Text to convert the spoken query into text
- PvRecorder to pass voice inputs to voice AI engines
- OpenAI DALL-E 3 to generate images
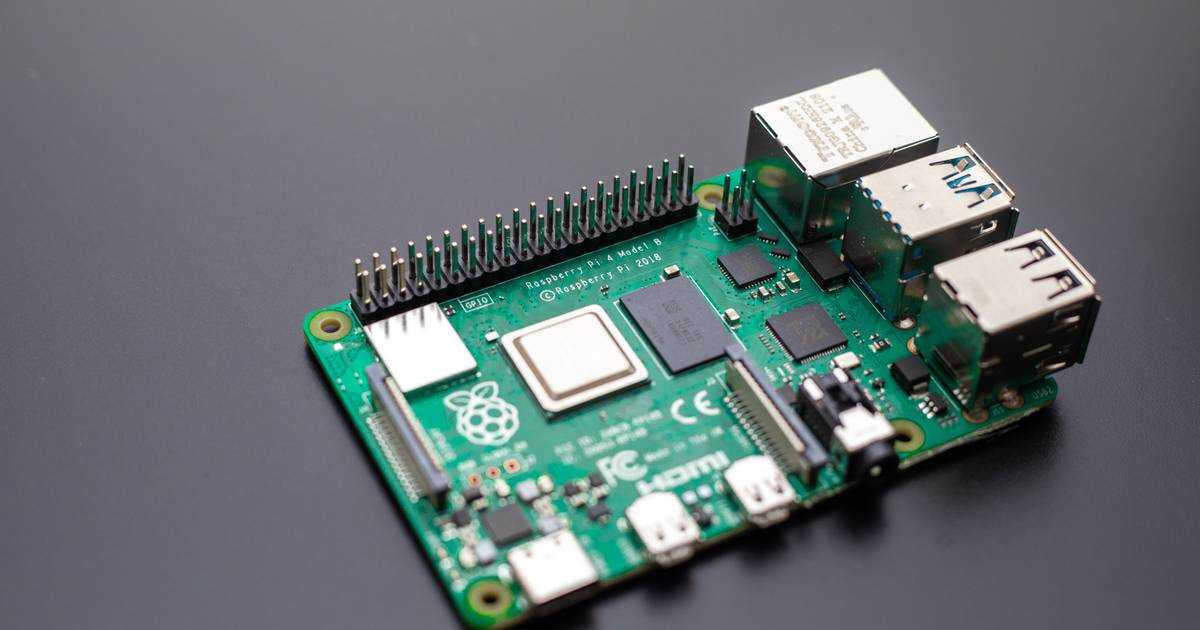
- Raspberry Pi 4
- 5v Power Supply
- USB Microphone
- Micro HDMI to HDMI Cable (or adapter if you already have an HDMI cable)
- Optional: Heatsink - helps your Raspberry Pi run cooler
Required hardware costs $70 as of today if you buy from Adafruit by following the links provided. Picovoice’s Free Plan is sufficient for hobbyists and OpenAI provides new users with free credits, then charges per image generated.
It takes just five steps to get the Lumina AI Art Generator running. Let’s start with prerequisites!
Prerequisites
- OpenAI Platform account and
API keyto integrate DALL-E 3. - Picovoice Console account and
AccessKeyto integrate Porcupine Wake Word, Cobra Voice Activity Detection, and Leopard Speech-to-Text. - Raspberry Pi 4 that is ready to run. If not, prepare it by following the instructions on the official RPI website and make sure you load the legacy 64-bit version of the OS.
Note: Raspberry Pi’s newer OS (Bookworm) released on December 5, 2023, does not work well with this installation. To load the legacy OS, use Raspberry Pi Imager and select Raspberry Pi 4 as the Raspberry Pi Device. After you select CHOOSE OS under Operating System, select Raspberry Pi OS (other). On the next screen, scroll down, select Raspberry Pi OS (Legacy, 64-bit), and proceed as normal from there. Also, using the 32-bit version, instead of 64-bit, will more likely return memory errors while running the program.
Step 1: Reboot your Raspberry Pi
- Open a terminal and enter the following command to open the
bashrcfile:
- Scroll to the bottom of the file using your keyboard and add the following lines at the end (be certain to include the #s):
- Press the
CTRLandXkeys simultaneously on your keyboard, then pressY, and then pressEnterto save the revisions to the file. Then enter the following command:
Step 2: Install all software
Whenever you’re asked if you want to continue, hit Y, and then press Enter.
Log back in after the reboot.
Step 3 (Optional): Remove the screen cursor
The following steps are optional to blank out the screen cursor after 5 seconds of inactivity so that it won’t show on top of your generated images.
Whenever you’re asked if you want to continue, hit Y, and then press Enter.
Press the CTRL and X keys simultaneously on your keyboard, then press Y, and then press Enter to save the revisions to the file. Then enter the following command:
Step 4: Clone and Modify Lumina
- Download the
Lumina.pyprogram and associated files by opening a terminal and entering the following command:
- Modify
Lumina.pyto use yourOpenAI API KeyandPicovoice AccessKey. Open a terminal and enter the following commands:
- Use your keyboard to scroll down to find the below lines and replace the placeholders with your
API KeyandAccessKey.
- Press the
CTRLandXkeys simultaneously on your keyboard, then pressY, and then pressEnterto save the revisions to the file. - Move the
Lumina keyword fileto thePorcupine raspberry-pi folderby entering the following command. Note that there are two blank spaces between "mv" and "/home" and between ".ppn" and "/home".
- Reboot your Raspberry Pi.
Step 5. Run Lumina
- Plug your microphone and speaker into USB ports on your Raspberry Pi 4.
- Plug the micro HDMI end of the HDMI cable into your Raspberry Pi 4 and the other end into an HDMI plug on your TV.
- Turn your TV on (turning on the TV before running Lumina is needed for Lumina to automatically detect the resolution of your TV).
- Use your TV remote to select that port as the source.
- Plug in the power to the Raspberry Pi 4.
- To run the program, open a terminal and enter the following commands:
Wait for the Lumina logo to appear on your TV screen (if it does not appear, check the source) Then, you can wake up Lumina by saying its wake word, which is also its name: Lumina.
When Lumina hears its name, it will display "Listening" on the TV. You can then make your request. For example, say:
- "Chipmunks at a New Year’s Eve party with balloons, streamers, and champagne. A couple in a rowboat in the style of Renoir."
- "A city of neon lights."
- "An album cover for a punk rock band."
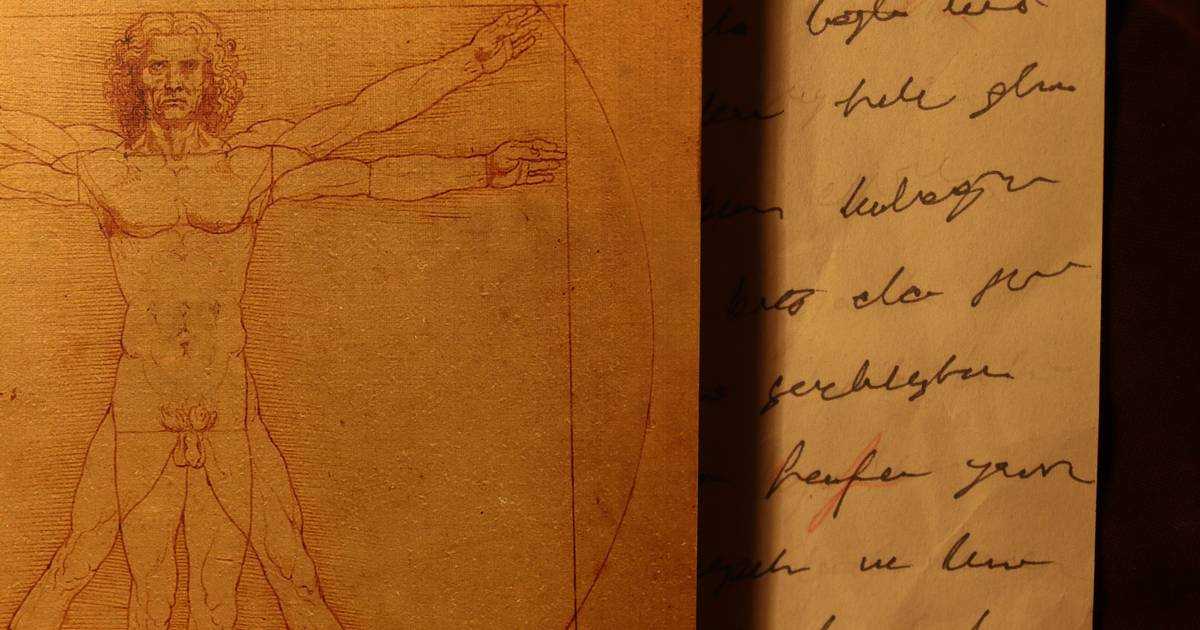
- "A schematic of a spaceship in the style of Leonardo DaVinci."
- "A still life of flowers, wine, and cheese."
After you finish the voice prompt, Lumina will first display Generating new image..., followed by the image requested. When you are finished with the program, say "Lumina" and follow with "Close the program", "End the program", or "Exit the program" to exit.
You can find more information, including tips for assembling the Lumina enclosure and adjusting screen resolution, on Lumina's GitHub. Do not forget to give it a star if you like the Lumina AI Art Generator. GitHub stars help fellow developers find repos easily and encourage maintainers to continue working on their projects.
You can start building your own commercial or non-commercial projects leveraging Picovoice’s self-service Console and Free Plan.
Start Free