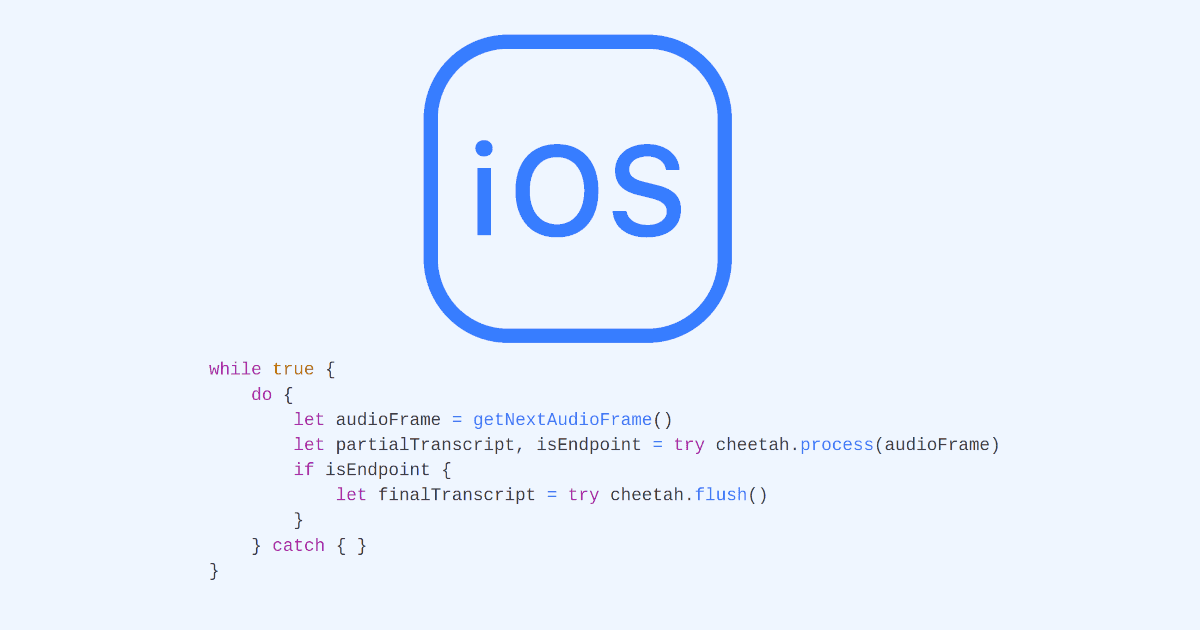
This article serves as a comprehensive guide for adding on-device Speech Recognition to an iOS app.
In today's software lingo, the precise definition of Speech Recognition is a bit ambiguous. Many people associate it exclusively with Speech-to-Text technology, but Speech-to-Text constitutes only one component of the broader field of speech technology. Examples of Speech Recognition can include Wake Word Detection, Voice Command Recognition, and Voice Activity Detection (VAD).
Here's a helpful guide to assist you in choosing the right Speech Recognition approach for your iOS application:
- Detect if someone is speaking and when they are speaking:
- Recognize specific phrases or words:
- Understand voice commands and extract intent (including slot values):
- Convert spoken words into written text in real-time:
- Perform batch transcription of large audio datasets:
There are also SDKs available for Android, as well as cross-platform mobile frameworks Flutter and React Native.
All Picovoice iOS SDKs are distributed via the CocoaPods package manager.
Now, let's delve into each of the Speech Recognition approaches for iOS.
Cobra VAD
- To integrate the
Cobra VADSDK into your iOS project, add the following to the project'sPodfile:
Sign up for a free Picovoice Console account and obtain your
AccessKey. TheAccessKeyis only required for authentication and authorization.Add the following to the app's
Info.plistfile to enable recording with an iOS device's microphone:
- Create an instance of the VAD engine:
- Find the probability of voice by passing in audio frames to the
.processfunction:
For further details, visit the Cobra VAD product page or refer to the Cobra iOS SDK quick start guide.
Porcupine Wake Word
- To integrate the
Porcupine Wake WordSDK into your iOS project, add the following to the project'sPodfile:
Sign up for a free Picovoice Console account and obtain your
AccessKey. TheAccessKeyis only required for authentication and authorization.Add the following to the app's
Info.plistfile to enable recording with an iOS device's microphone:
Create a custom wake word model using Picovoice Console.
Download the
.ppnmodel file and include it in the app as a bundled resource (found by selecting inBuild Phases > Copy Bundle Resources). Then, get its path from the app bundle:
- Initialize the Porcupine Wake Word engine with the
.ppnresource:
- Detect the keyword by passing in audio frames to the
.processfunction:
For further details, visit the Porcupine Wake Word product page or refer to the Porcupine iOS SDK quick start guide.
Rhino Speech-to-Intent
- To integrate the
Rhino Speech-to-IntentSDK into your iOS project, add the following to the project'sPodfile:
Sign up for a free Picovoice Console account and obtain your
AccessKey. TheAccessKeyis only required for authentication and authorization.Add the following to the app's
Info.plistfile to enable recording with an iOS device's microphone:
Create a custom context model using Picovoice Console.
Download the
.rhnmodel file and include it in your app as a bundled resource (found by selecting inBuild Phases > Copy Bundle Resources). Then, get its path from the app bundle:
- Initialize the Rhino Speech-to-Intent engine with the
.rhnresource:
- Infer the user's intent by passing in audio frames to the
.processfunction:
For further details, visit the Rhino Speech-to-Intent product page or refer to the Rhino's iOS SDK quick start guide.
Cheetah Streaming Speech-to-Text
- To integrate the
Cheetah Streaming Speech-to-TextSDK into your iOS project, add the following to the project'sPodfile:
Sign up for a free Picovoice Console account and obtain your
AccessKey. TheAccessKeyis only required for authentication and authorization.Add the following to the app's
Info.plistfile to enable recording with an iOS device's microphone:
- Download the
.pvlanguage model file from the Cheetah GitHub repository and include it in the app as a bundled resource (found by selecting inBuild Phases > Copy Bundle Resources). Then, get its path from the app bundle:
- Initialize the Cheetah Streaming Speech-to-Text engine with the
.pvresource:
- Transcribe speech to text in real time by passing in audio frames to the
.processfunction:
For further details, visit the Cheetah Streaming Speech-to-Text product page or refer to the Cheetah iOS SDK quick start guide.
Leopard Speech-to-Text
- To integrate the
Leopard Speech-to-TextSDK into your iOS project, add the following to the project'sPodfile:
Sign up for a free Picovoice Console account and obtain your
AccessKey. TheAccessKeyis only required for authentication and authorization.Add the following to the app's
Info.plistfile to enable recording with an iOS device's microphone:
- Download the
.pvlanguage model file from the Leopard GitHub repository and include it in the app as a bundled resource (found by selecting inBuild Phases > Copy Bundle Resources). Then, get its path from the app bundle:
- Create an instance of Leopard for speech-to-text transcription:
- Transcribe speech to text by passing an audio file to the
.processFilefunction:
For further details, visit the Leopard Speech-to-Text product page or refer to Leopard's iOS SDK quick start guide.

